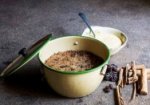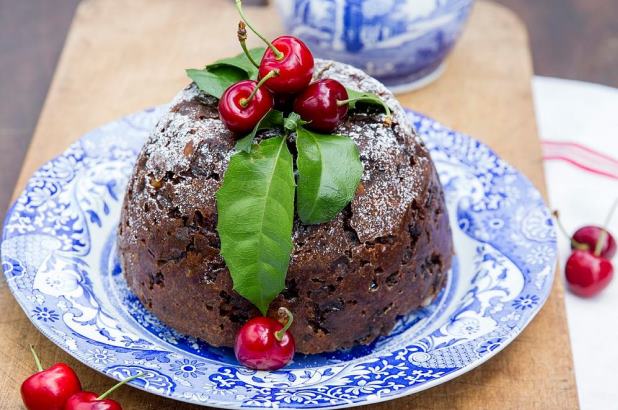
Yes, it’s pudding time again! We’ve been busy boiling traditional Christmas Plum Puddings, made from an 1861 Mrs Beeton’s recipe, for Colonial gastronomy workshops and upcoming Christmas events.
Regrettably I’ve never been able to master the art of cloth-boiled puddings, finding the classic pudding basin a more reliable option.
The Cook’s tips
As Christmas plum puddings require extensive cooking time to produce their requisite rich dark colour, it is important that the basin is sealed properly, and will not be broken during cooking. Sealing the pudding with aluminium foil is a simple process, and I’ve picked up a few handy tips along the way:
Place a round of baking paper on the surface of the pudding before sealing. (A small round of baking paper placed at the bottom of the basin helps prevent the pudding sticking to the base when being turned out onto a serving plate.)
Make a pinch pleat to prevent the foil from splitting as pressure builds from the heat.
Make a string handle for easier handling – they can be hot, heavy and slippery when being removed from the cooking pot.
Place a trivet in the base of the cooking pot to prevent the bowl clattering about as it boils (some old texts suggest lining the pot with hay).
Maintain the water level in the cooking pot so that it is three-quarters of the way up the sides of the bowl.
Aluminium foil discolours with extended cooking, so if you are giving the pudding as a gift, discard the foil the pudding was cooked with, clean the outside and rim of the bowl with paper towel and replace the foil and tie it tightly with new string. Wrap the pudding – basin and all – in calico cloth, and tie the corners together across the top of the pudding. The cloth can be removed for reheating.
How to seal a pudding basin
 Print recipe
Directions
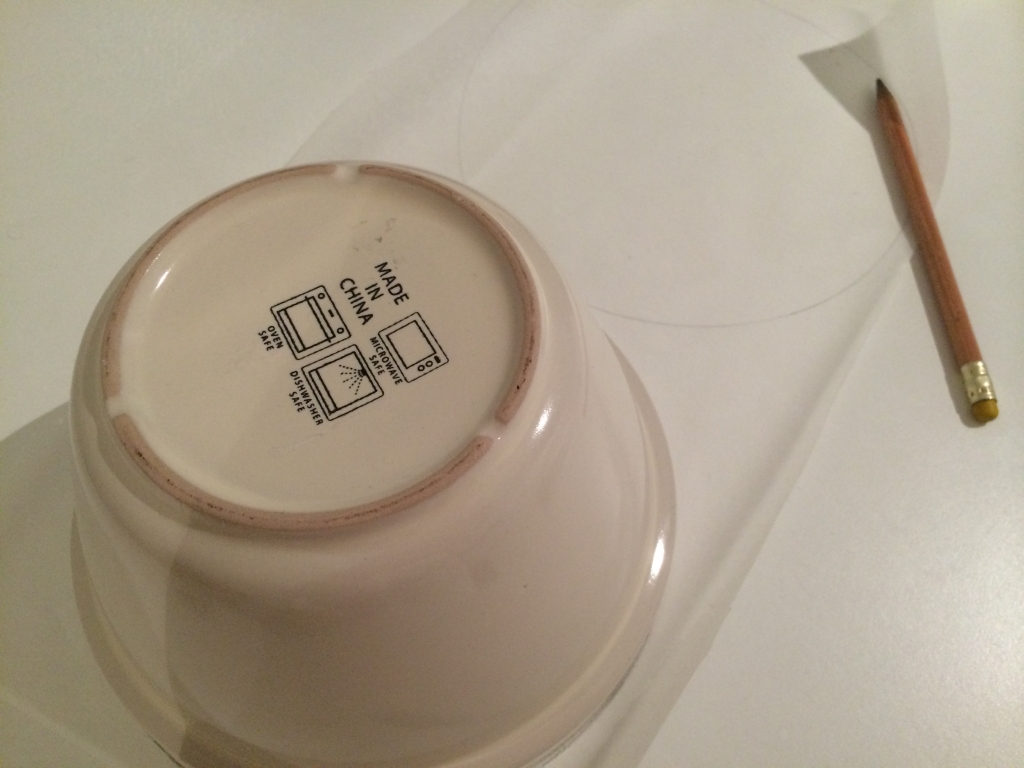 1.Mark out the size of the rim and base of the basin onto a sheet of baking paper, and cut to size. | |
 2. Line the base of the basin with the small round of baking paper before adding the filling, then cover the surface of the pudding with the large round to prevent direct contact with the aluminium foil. | |
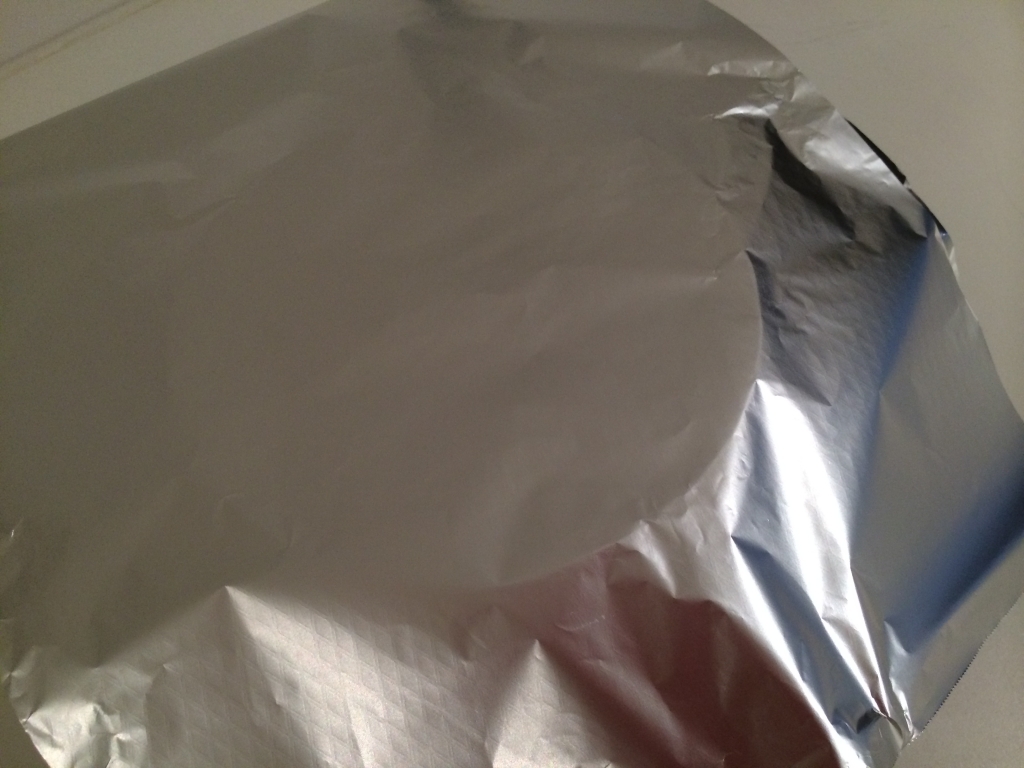 3. Measure a double thickness of foil to cover the pudding bowl and extend half way down the sides. | |
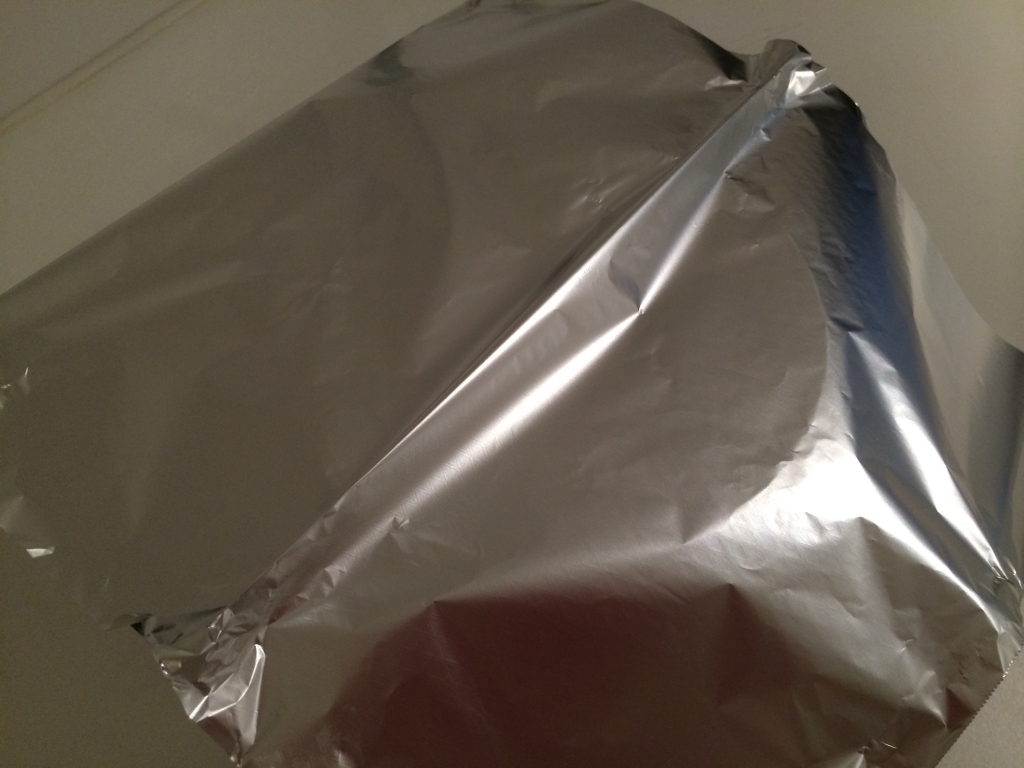 4. Form a 1cm pinch across the middle of the foil (or 2 cm for a large basin). | |
 5. Fold over the pinch and flatten to form a pleat across the centre of the basin. | |
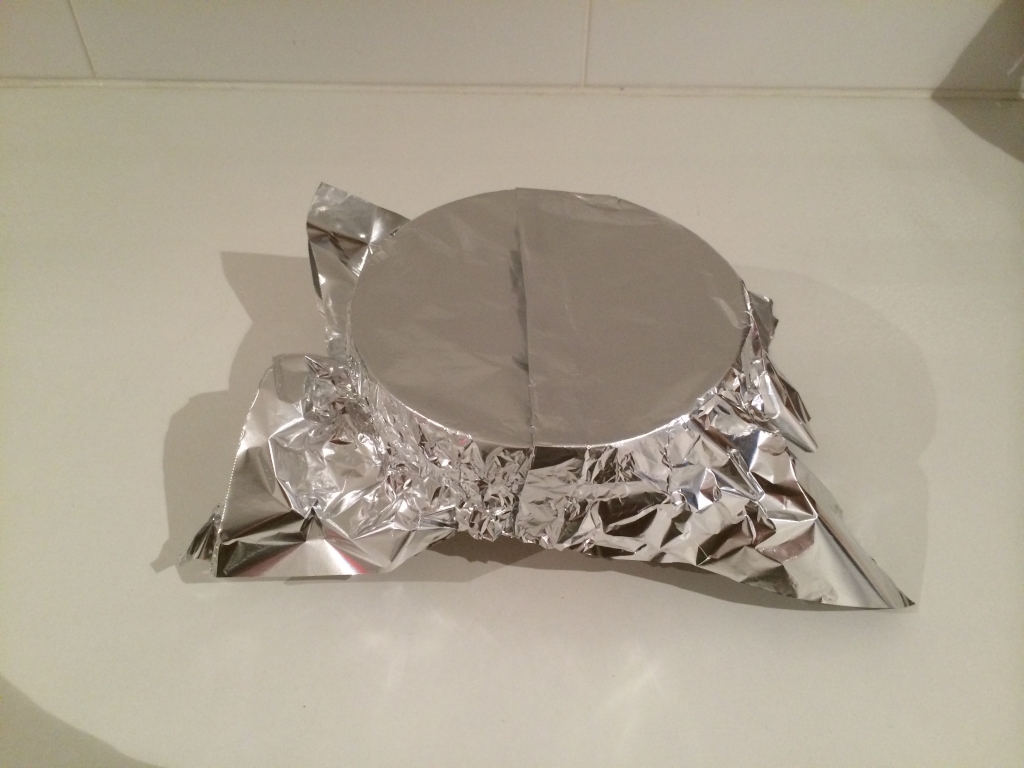 6. Using a double strand of cooking twine or string, tightly tie the foil around the basin's circumference, under the basin rim (some basins have a lip around the top which if tied tightly, prevents the string from slipping up. If using a plain sided bowl tie the string well below the top rim and check that it is tight enough not to ride up to the top of the bowl). | |
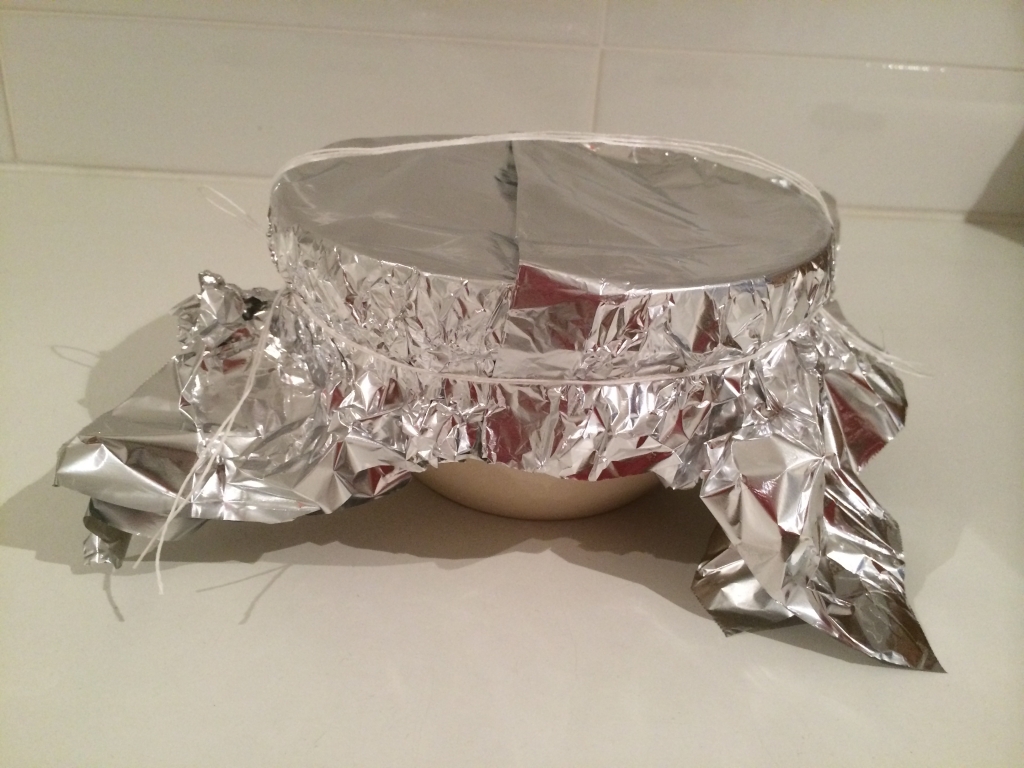 7. Using extra string, form a handle by looping the string across the top of the basin, tying the string ends to the string used around the circumference, at opposite points around the basin. | |
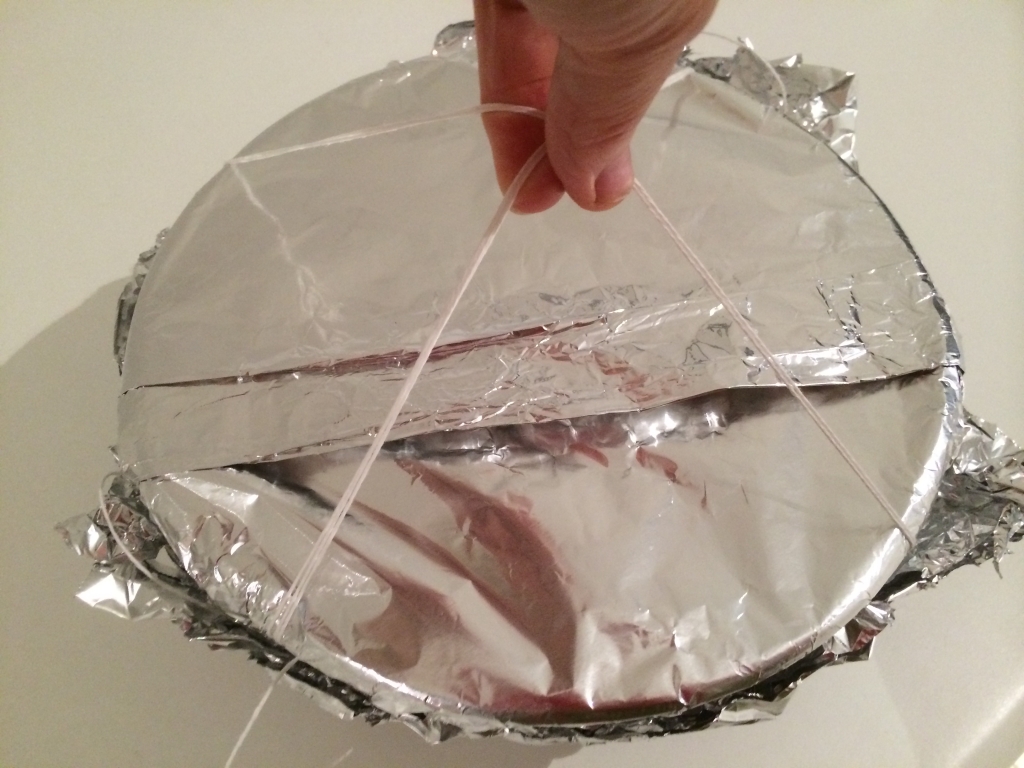 8. Rotate the bowl 90° and repeat the process to make a criss-cross. This will help lowering and lifting the pudding in and out of the cooking pot. | |